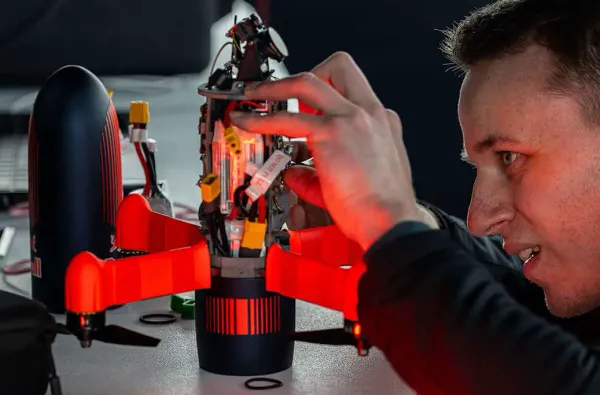
Need to know how you add FPV gear to your quadcopter? Then you’ve come to the right place as this little guide takes you through the process step by step…
If you have been following our Beginners Guide on How to Build the Martian FPV Racing Quadcopter, you will have by now completed the build and can get your quad in the air and flying. You will notice, however, that there isn’t anything particularly ‘FPV’ about it i.e. there is no camera and no video transmitter on it. This little guide takes you through how to add the FPV equipment to your Martian and is applicable to almost any quad build.
Equipment Used
Connecting the Camera to the VTX
The first thing to do is to get the camera and video transmitter (VTX) hooked up. With the FPV200 bundle pack that we’re using, this is super easy as all we need to do is to connect the two cables together as they are ‘plug and play’.

When these are connected, you will notice that there is rather a lot of excess cable. This is fine as long as you tidy them up when you attach the VTX to your frame. This does tend to get a bit messy, however, and so we are going to go through the alternative method of cutting the cables down to size in order to make a cleaner build.

Above is a small connection diagram of how everything is going to be hooked up together. You can come back to this for clarification if you need to.
The camera is going to be placed at the front of the quad (no surprises there) with the VTX at the back. Both the camera cable and the VTX cable, therefore, need to be about 2 inches long. Leave a little extra than you think just in case. You then need to solder the wires together as shown below.

⚠️ Don’t forget to add heat-shrink before soldering the wires!
Soldering VTX Cable to PDB
We now need to power the VTX and camera. This is done via the red and black (voltage and ground) wires in the VTX cable. Again, we cut these down to size and solder directly to the Martian PDB (as the VTX can handle the raw voltage). You can choose any positive and negative pads on the PBD – we chose the pads the battery connector is attached to as these are the most accessible. Remember to solder the red wire to the positive pad and the black to the negative.

⚠️Tip: Check everything is working as it should at this point before we go any further. Check all solder connections for shorts, attach the antenna to the VTX and then we can plug a battery into the quad. Get your VR-006 goggles out and tune them to the correct transmitting frequency. You should then be able to see the live feed from your camera!
Attaching Camera and VTX to Frame
Now that we have everything soldered together (and working correctly), we need to secure the camera and VTX to the frame.
Securing the camera
When it comes to this step, there are several options available to you. The HS1177 camera comes attached to a mount and we could secure this mount to the Martian frame in some way if we wanted. For example, we could do this with a screw and lock nut combination, coming up through the bottom of the frame and through the mount. However, we suggest an alternative method that uses the two side plates that come with the Martian frame.

We first unscrew the camera from the mount, being careful not to strip the thread. We can now attach the camera to the two camera side plates but we CANNOT use the screws that we have just taken out – they are too short. We have to use longer screws and they should be provided in the FPV200 bundle pack that you have received. These first go through the side plate and then through into the camera. Ensure that you have the side plates orientated the correct way as shown below.

With the camera secured in the side plates, you can connect the camera cable (if you haven’t done so already). We then wedge the side plates into the slots provided in the bottom and top plate. You will, therefore, have to first remove the top plate from the Martian. Once you have the camera and side plates in place, you can re-attach the top plate. The video transmitter will still be loose at this stage.

Securing the VTX
We are going to secure the VTX on the underside of the top plate on the Martian. You can place the VTX in such a way that you can see the digital display from the top and still access the channel button (as seen below). Once it is in position, simply secure with a zip-tie.

The antenna can then be positioned as shown above. When securing the VTX with the zip-tie, pay special attention to avoid trapping any loose cables/antennas inside the zip-tie – this can happen easily in this situation.
Tip: now that we have the VTX secured to the frame, it is a good idea to position the receiver antenna somewhere away from the VTX antenna (to avoid as much interference as possible). We went for threading the antenna through one of the slots near the front of the top plate.

You now have an FPV Quadcopter!
And there you have it! You now have FPV enabled on your Martian quadcopter! Once you have tuned your VR-006 goggles (or other) to the correct frequency, you will be able to see the live feed from your HS1177 camera and get out in the field and fly!
A word of caution: FPV flying does take a while to get used to and so I would suggest trying out a few simulators before you try the real thing if you haven’t already.
Happy Flying!