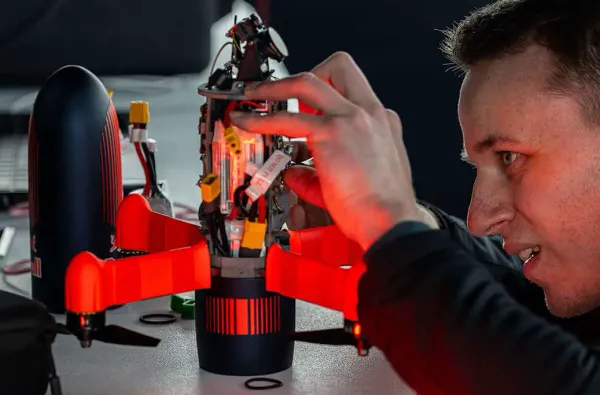
This is a short and sweet operating manual for the Android-compatible 150Ch 5.8GHz OTG FPV receiver that enables you to receive the live FPV footage from your drone directly onto your phone. It’s pretty neat and simple to operate.
Make sure your phone has a UVC driver installed on the kernel
So first things first, before you buy this product, you have to make sure that your phone is compatible with the App you have to use. This means that your phone will have to have a UVC driver installed on the kernel. Most phones will have this these days I believe, and a way that I have found of seeing if yours does is to install the App (see below) and it will say whether your phone is compatible. If anyone knows a way to check properly, or a way to install the UVC driver, please let me know in the comments – that would be greatly appreciated.
Install App
Two compatible Apps with this receiver are Go-FPV or EasyCap UVC Player. Follow these links to the Google Play Store and simply install and open.

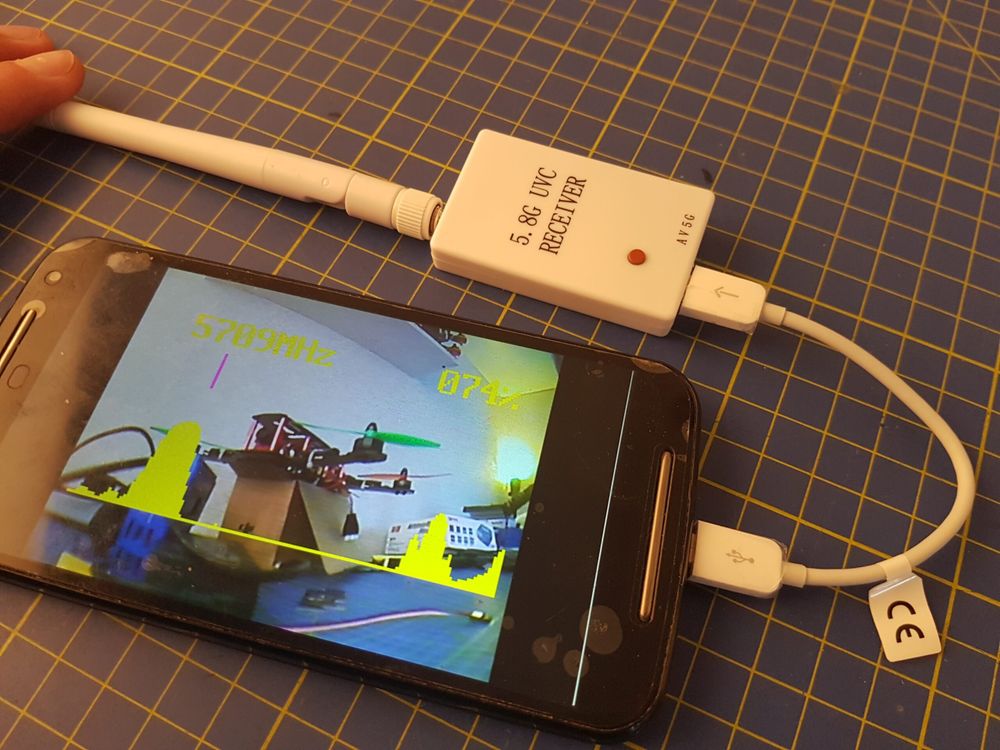
Plug in and search channels
After you have installed the App, plug in the receiver (after having attached the antenna of course) to your phone and you’re ready to beginning searching for the right channel. Before doing this, it is good practice to calibrate the min and max FPV signal strength. You do this by pressing and holding the function button whilst powering the receiver (i.e. plugging it in). The transmitter should be 20-30m away in a cleared area at this point. That calibrates the signal strength and you’re ready to find the right channel.

The receiver automatically searches for the best channel when you press and hold the function button for 3 seconds. Once found, you will then have the live feed from your FPV camera on your phone. Simple.

On-Screen Operations
First of all, you can add OSD by pressing the function button for 1 second.

Down at the bottom of the screen, you have 4 buttons. From left to right, we have the Recording button, the Maximise and Minimise buttons and the Screen button. You press the Recording button to start recording the live feed onto your phone. You can maximise and minimise the screen by pressing these buttons, and you can switch between two screen views with the final button. This goes from the one big view to the split view. The split view allows you to use phone VR goggle headsets.
Where to Buy
What do you think?
So there we have it, the Android-compatible 150Ch OTG FPV Receiver and a small guide on how to operate it. But what do you think? Let us know in the comments sections below.