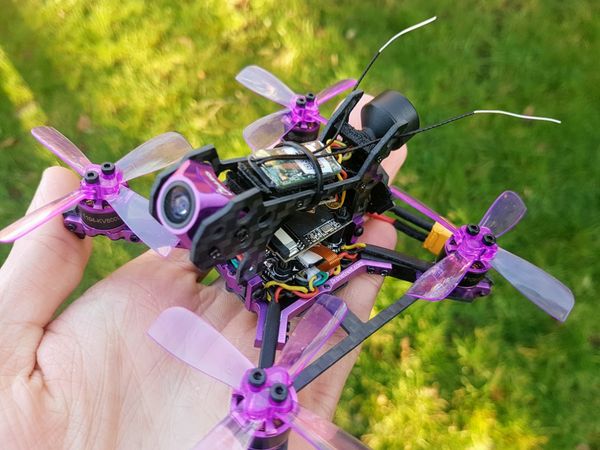
I recently had the chance to test out the P130 Battler FPV quadcopter which is a tiny 130mm brushless FPV quadcopter. At this size you can almost fly this quad indoors (although its not a good idea as the brushless motors can cause some damage if they hit someone, or something). None the less, a quadcopter of this size opens up many more possibilities as it can fit through much smaller gaps allowing you to try new FPV courses. Plus since it is under 250g, there are just about no regulations when it comes to flying this. Especially for those of you in the USA, it means you do not need to register this quadcopter with FAA.

Giveaway
We are giving away a free P130 FPV quadcopter to a lucky reader, simply enter your details below to stand a chance of winning. You will also get extra entries by getting your friends to enter.
What you get
The P130 Battler quadcopter is available as an ARTF (almost ready to fly) if you already have a radio control, and a RTF (ready to fly) version with a flysky i6 radio depending on what you are after. Both kits include batteries and a charger which is relay nice considering the price.

- P130 Carbon Fiber Quacopter
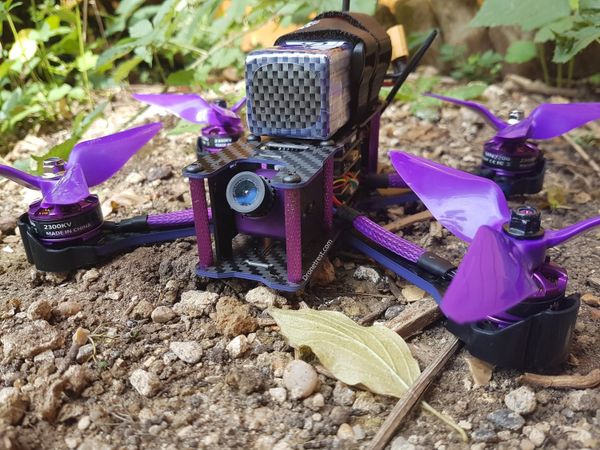
- 1806 2300Kv Motors
- Naze32 Rev 6 10 DOF Flight controller (Accelerometer, Gyro, Compass, Barometer)
- 800TVL FPV camera 150 degree FOV with built in 40CH 25mW FPV transmitter
- PDB with voltage regulator and LED switch
- 4x Arm LED’s
- 4x Flycolor 12A ESC which support up to 4s Lipo
- 3S 850mAh Lipo battery included
- B3 3S Lipo battery charger
- 8x Tri Blade 3045 Propellers
- Flysky I6 Radio with FS – IA6 Receiver (Only included with RTF version)
The Good
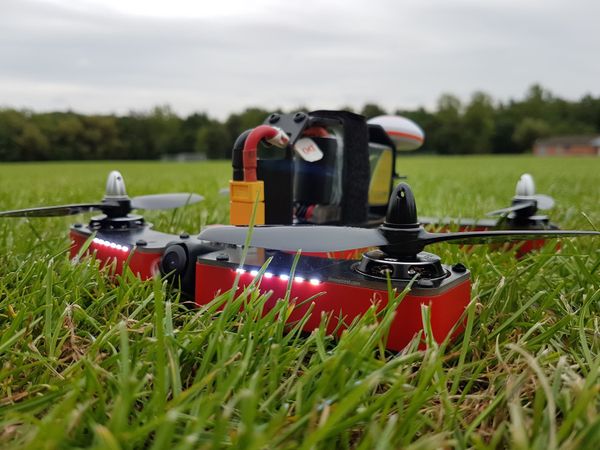
- Small 130mm size, under 250g
- Very reasonably priced
- Strong frame
- Motors and ESC support up to 4S Lipo (which you should upgrade in order to have good performance)
- Available as a RTF and ARTF kit, so no need to mess around with components or building
- Unique and cool looking cammo top plate and props (avaiable in Army Green, Desert or Marine camo)
- All in one 800TVL FPV camera and Transmitter with circular polarized antenna that you can use on future builds
- Naze32 Rev6 10DOF flight controller (yes its kind of old, but its a well trusted FC, but it makes up for it by the fact it includes a compass and baro on the board too)

The Bad
- Rather heavy frame (About 2x the weight of other competitor frames, but it is extremely strong making better for beginner pilots)
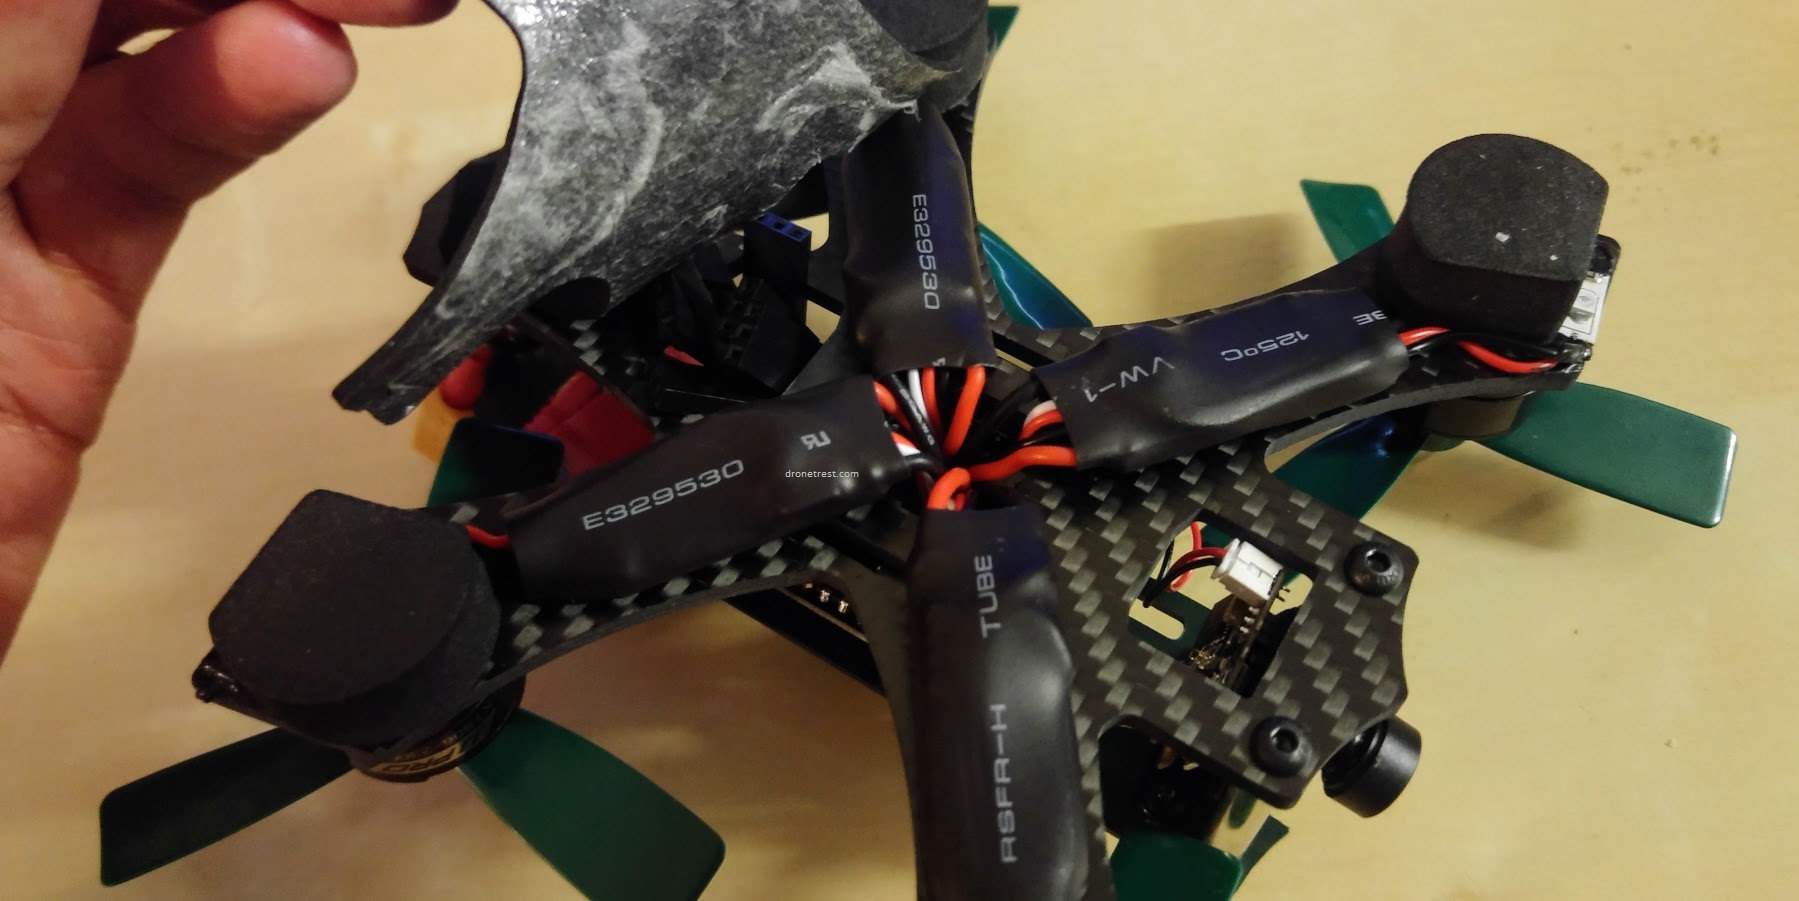
- ESC and receiver are mounted under the frame, and only protected by some foam
- Includes a 3S Lipo which makes the quad abit under-powered (you should budget to upgrade this to a 4S battery)
- FPV camera cant tilt beyond 20 degrees (but since it is under-powered with stock battery this is not a serious issue)
- Generic ESC that do not run BLheli / Oneshot mode – although specs say that they do, but oneshot not enabled by default.
- No buzzer so you cannot setup a low battery alarm
- FPV antenna mounted very close to top carbon fiber plate, reducing signal quality
- Flight Controller not setup out of the box (only acro mode) so this is something you need to change (I suggest upgrading to betaflight firmware)
Should you get this?
The P130 is a very affordable FPV quadcopter that includes all the bits you need, it is well built (strong frame, but very heavy) but is definitely suited to beginner FPV pilots. The rather sluggish performance with stock batteries will put many more experienced pilots off this quad, but for beginners the slower flight response makes it easier to fly.

Shown above, a full throttle punchout in the P130 is not particularly explosive!
At the end of the day I feel there are much better options available for your first quadcopter if you are not specific about the 130 size, such as like the Falcon 250 Pro. But if you want something smaller check our our best indoor micro quadcopter list.
If you upgrade to a 4S battery you get decept performance, but that requires upgrading to a new battery which defeats the point of buying a RTF quadcopter. I guess that is why they called it the battler, because out of the box it battles to fly!
What else do you need?
You will still need to get some FPV goggles or an FPV monitor on the ground to view the real time video feed from your P130 quadcopter. You will also probably want to upgrade your battery at some time, so here are a few suggestions of what you should get at the same time as your P130 order to save on shipping.
- F01 FPV Goggles – The F01 goggles are a great budget level FPV headset have a 800 x 480 pixel display which will work well with your P130 if you dont already have any FPV goggles.
- Battery Low voltage alarm – Plugs directly to the balance port of your battery and will beep when your battery voltage gets low so you know when to land!
- 4S 850Mah Lipo (at least 45C) – At 4S this quadcopter flies decently, with enough power to perform flips and decent full throttle punch outs..
Furthermore there are a wide selection of reasonably priced spare parts should you crash and break something.
Integrated FPV Camera with built in VTX
Included in the kit is a great little FPV camera with built in video transmitter. It has a decent resolution at 800TVL and performs well as a FPV camera, although it is still not as good as something like the runcam swift (HS1177), but this camera is smaller and it has a built in transmitter!
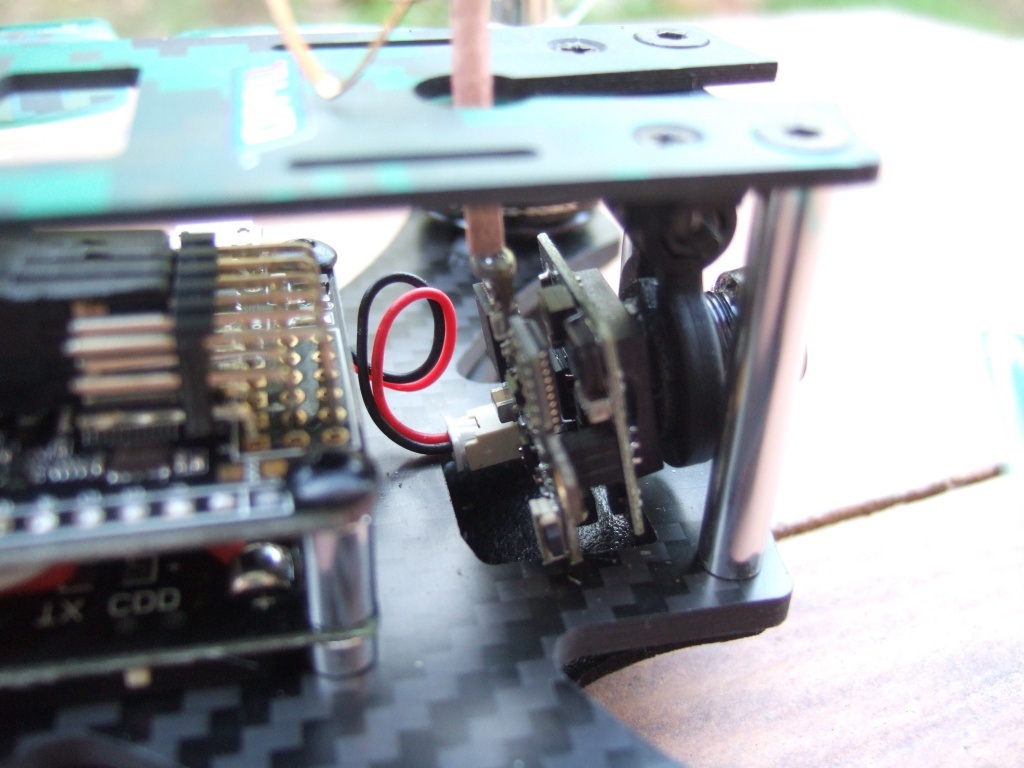

The antenna is circular polarised so you should get decent signal but the problem is that the antenna itself is relatively short so depending on the angle of your quadcopter a large portion of the battery and the top carbon fiber plate will block alot of the signal. However with close range flying (less than 300m away) the FPV signal was more than good enough.
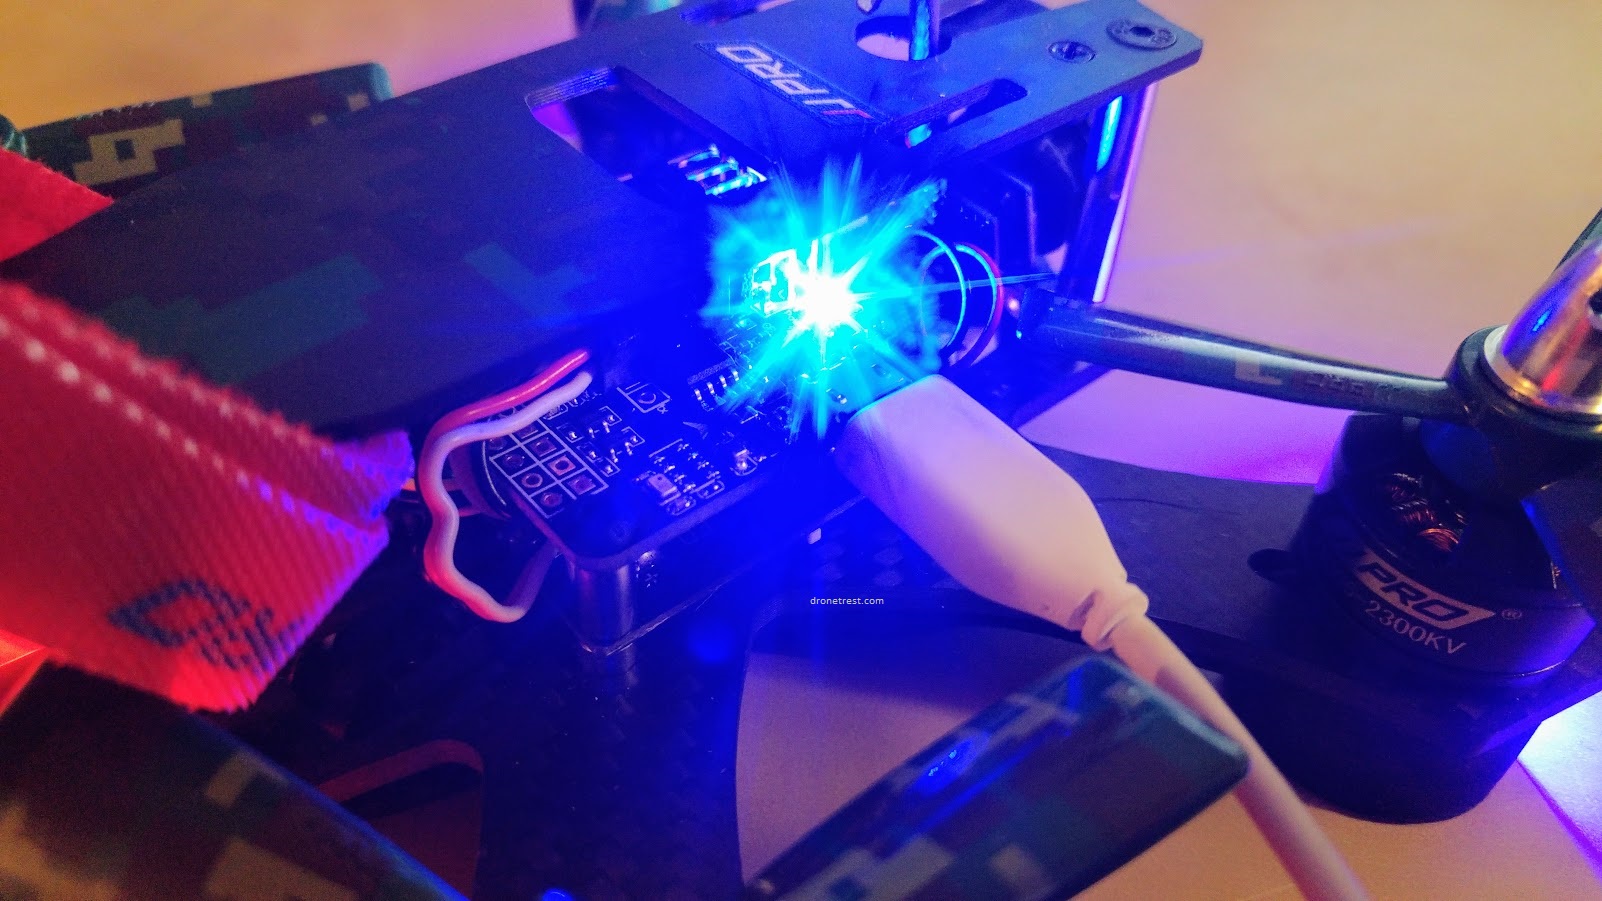
In order to change the channel on your FPV transmitter there is conveniently located push-button that you use, it can also be used to switch the camera between PAL and NTSC modes. The button functionality works as follows:
- Short Press: Change frequency channel between 1-8
- Long Press: Change the frequency band between A,B,E,F,R
- Long Press followed by short press: Switch between PAL and NTSC, this is indicated by the blue of the LED. Blue LED on = NTSC, Blue LED off = PAL.
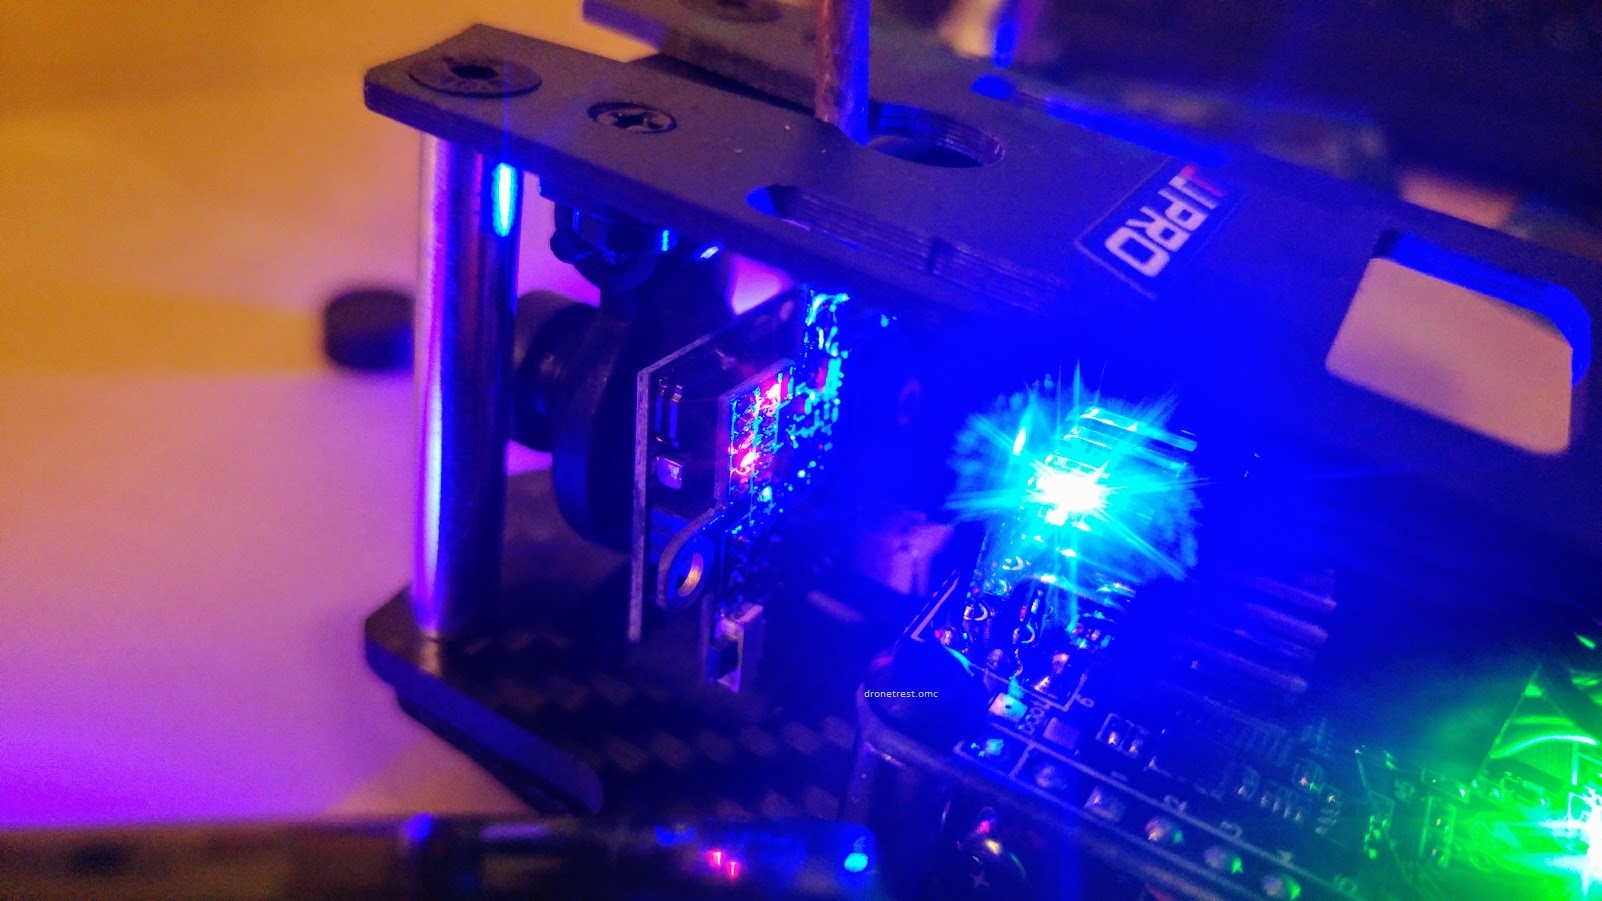
Although its not a huge deal, it is abit tricky to know what band/channel you are on with the VTX. There are a bunch of LED’s and depending on which are illuminated will be what channel/band you are on.
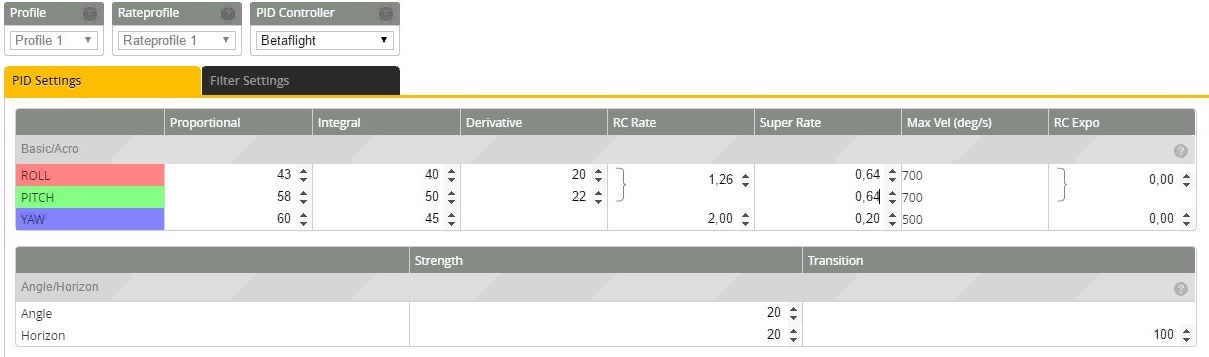
Upgrade to BetaFlight
If you are comfortable its a good idea to upgrade to BetaFlight firmware as in general i think the betaflight PID controller works very well. Below is my suggested PID’s you should use when running gyro updates and loop times at 1.33KHz
Charging the battery
As I mentioned its great that you get a 3S Lipo battery charger with the kit. However the only issue I had was that it only comes with a USA plug (no adapter included), So I just used a plug converter.
Where to Buy
- P130 Battler RTF (gearbest) – Inlcudes Flysky I6 radio and reciever
- P130 ARTF GearBest – If you want to use your own radio/receiver